This post is part of three part series:
Part 1: Install and Configure Windows Server 2008 R2
Part 2: Install and Configure SQL Server 2012 (this post)
Part 3: Install and Configure SharePoint 2013
Part 2: Install and Configure SQL Server 2012
Install SQL Server 2012 Developer Edition
1) Insert Server 2012 installation media into your CD/DVD drive
2) Double click on setup.exe to begin the installation process.
3) Click the Installation link on the left-hand side of the window and then click the link which reads New SQL Server stand-alone installation or add features to an existing installation.

4) The setup program will then check to make sure there were no problems with the setup rules. Once passed, click OK.

5) At the Product Key page enter the product key and Click Next
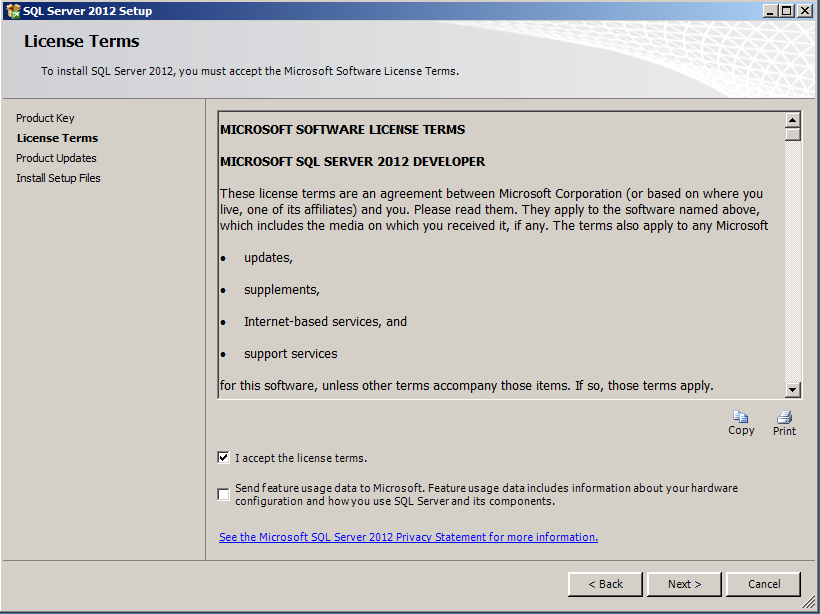
6) When prompted on the License Terms dialog, click I accept the license terms and click Next.
7) The next page is the Setup Support Files page. Click Install to continue. SQL Server will down load the setup files

8) When you get to the Setup Support Roles page of the setup wizard, the installation process runs tests to make sure your VM meets the requirements. Your VM should pass all tests and the only warning you should receive is that you are installing SQL Server 2008 on a domain controller. You can ignore this warning. Click Next to continue.
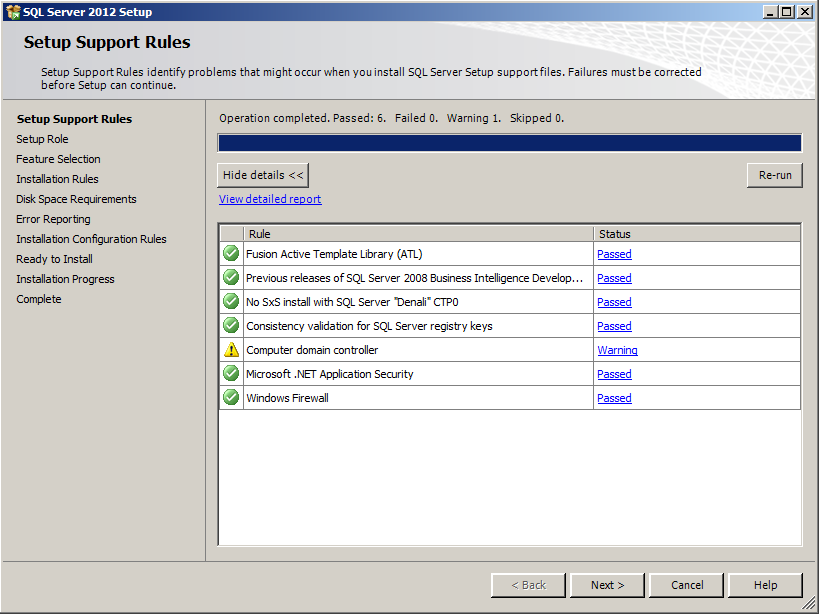
Ignore – Domain controller warning:

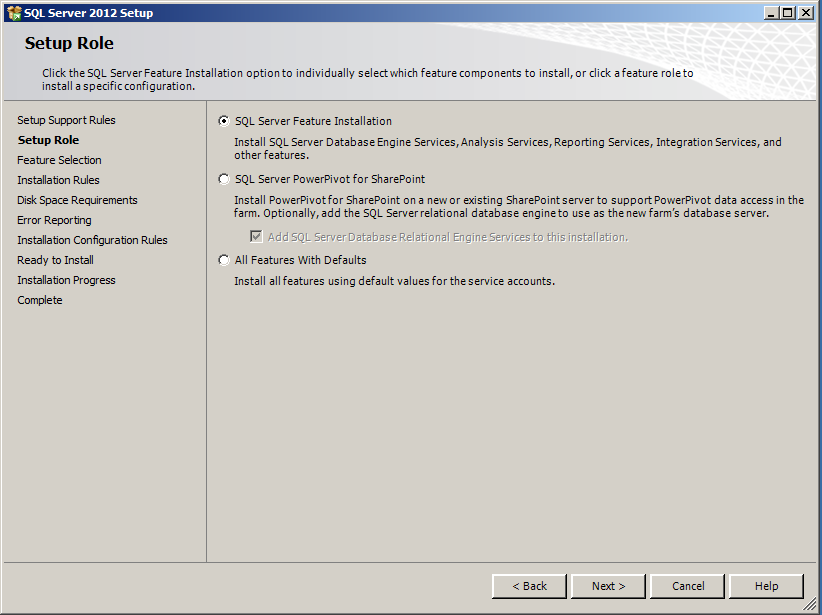
9) On the Setup Role page, select SQL Server Feature Installation and click Next.
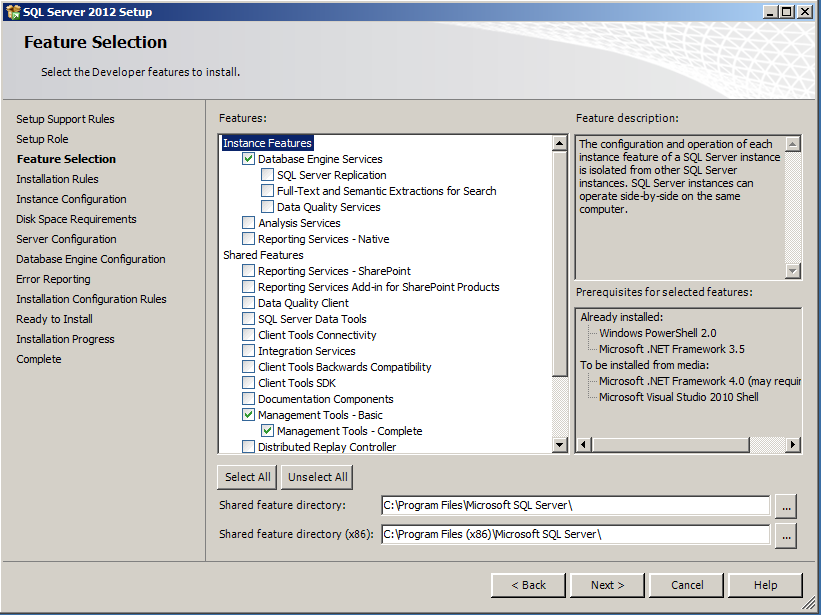
10) When you get to the Feature Selection page, select the following features and click Next to continue
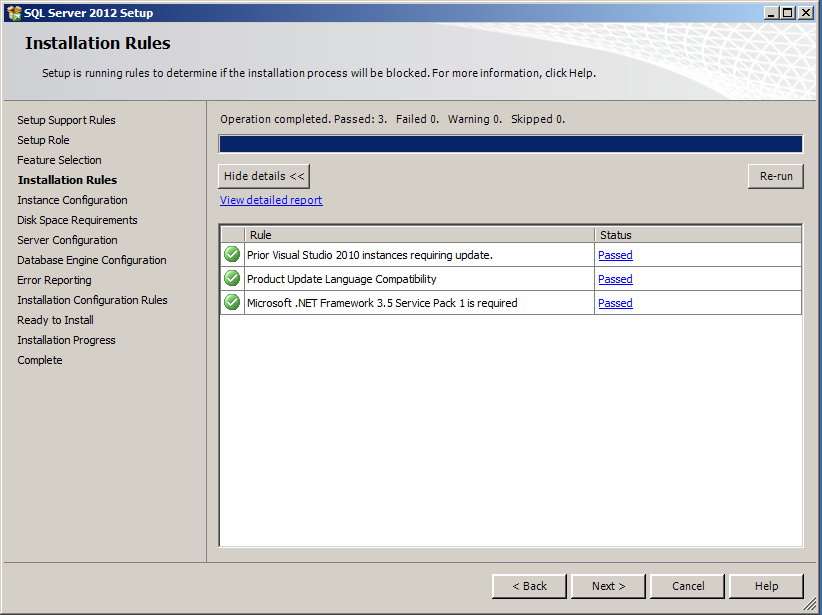
11) Click Next on the Installation Rules dialog.
12) Accept default on the Instance Configuration page and click Next to continue.

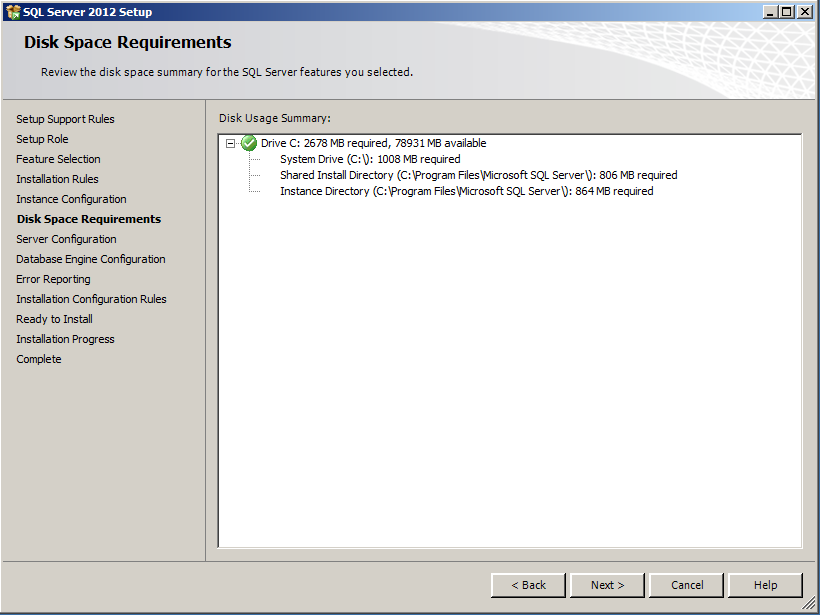
13) Click Next on the Disk Space Requirements dialog.
14) The next page is the Server Configuration page. Change the StartUp Type setting for the SQL Server Agent to be Automatic and type SQL Server service account name and password

15) After you have completed the previous step, the Server Configuration page should appear like the one shown below. Click “Add Current User” button to add Administrator account and “Add” button to add service account. Click Next.

16) At the Error Reporting page, click Next.

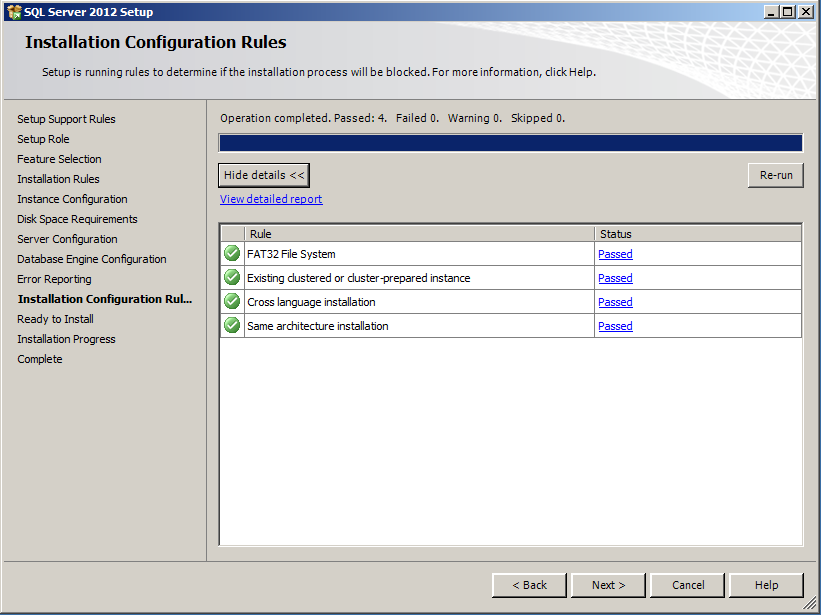
17) At the Installation Configuration Rules page, verify that your VM passes all tests. Click Next to continue.
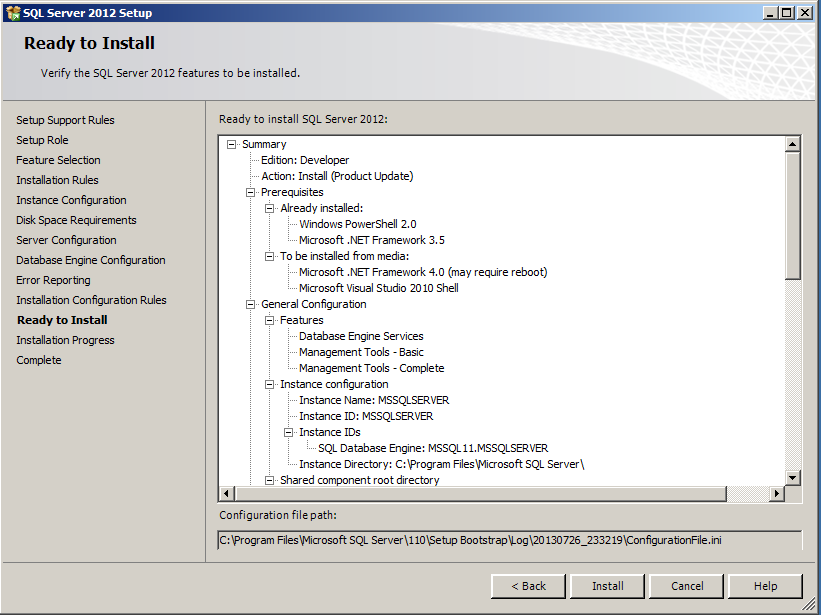
18) On the Ready to Install page, click Install to begin the installation. The installation will take somewhere between 5 and 30 minutes depending on your hardware performance.
19) When you get to the Complete page you are finished with the installation. Click Ok on “computer restart required” dialogue. Click the Close button.

20) Re-start the computer.
21) Now run Windows Update now that you have completed the installation of SQL Server 2012.
